
클라우드 배우기
LoadBalancer Haproxy - Rocky9 본문
LoadBalancer
1. 부하분산
1.2. 용자의 트래픽을 내부 서버로 분산(Reverse Proxy)
1.1. Forward Proxy
1.1.1. 내부 사용자의 트래픽을 proxy 서버로 전달
1.1.2. Proxy : haproxy, nginx 사용자가 접속하는 부분
<참고>
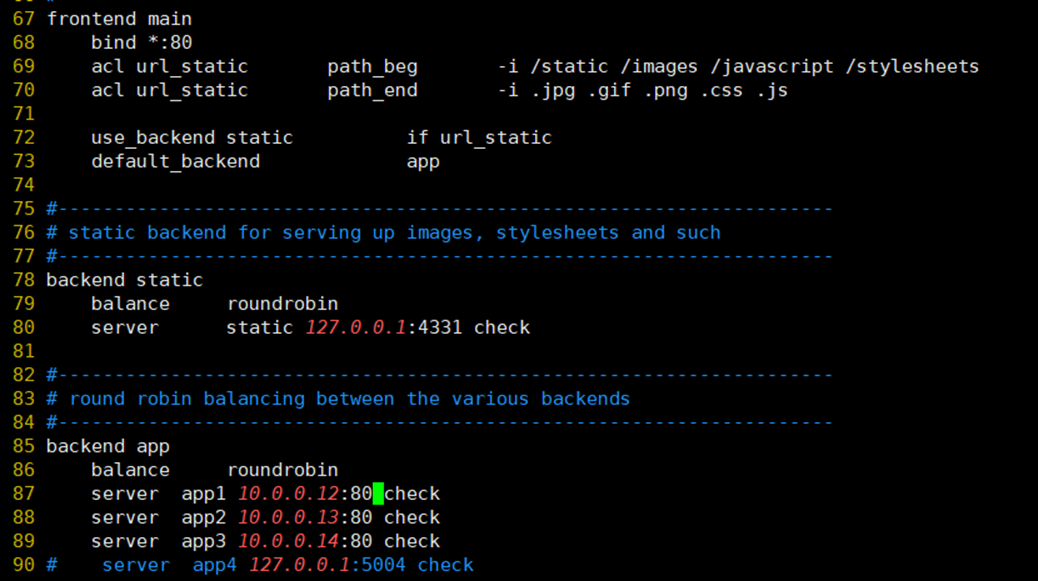
frontend : 사용자가 접속하는 부분
backend: 공급자가 접속하는 부분
========================================================================================
Rocky9-1: 10.0.0.11 (haproxy)
Rocky9-2: 10.0.0.12 (httpd)
Rocky9-3: 10.0.0.13 (nginx)
Rocky9-4: 10.0.0.14 (httpd)
Rocky9-1
1. haproxy 설치
yum install -y haproxy
2. 방화벽 설치
firewall-cmd -add-port=80/tcp
3. haproxy config 설정
vi /etc/haproxy/haproxy.cfg
4. haproxy 시작
sytemctl start haproxy
Rocky9-2
1. httpd 설치
dnf install -y httpd
2. 방화벽 설치
firewall-cmd --add-port=80/tcp
3. html 작성
vi /var/www/html/index.html

4. httpd 실행
systemctl start httpd
Rocky9-3
1. nginx 설치
dnf install -y nginx
2. 방화벽 설치
firewall-cmd --add-port=80/tcp
3. html 작성
vi /usr/share/nginx/html/index.html (httpd와 경로 상이)

4. nginx실행
systemctl start nginx
Rocky9-4
1. httpd 설치
dnf install -y httpd
2. 방화벽 설치
firewall-cmd --add-port=80/tcp
3. html 작성
vi /var/www/html/index.html

4. httpd 실행
systemctl start httpd
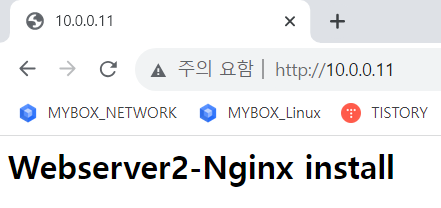
인터넷창
주소에 10.0.0.11을 입력 후 새로고침 할 때마다 각각 서버에 입력했던 내용들이 바뀌어서 나온다.


'Linux' 카테고리의 다른 글
| Ansible 을 이용한 Apache + Wordpress + Mysql-server 설치 (0) | 2023.09.03 |
|---|---|
| loadbalancer + wordpress + sqlnd-server 설치 -Rocky9 (0) | 2023.09.02 |
| SSH Ansible - Rocky9 (0) | 2023.09.01 |
| SSH Key 생성 및 연결 - CentOS7 (0) | 2023.08.30 |
| DNS(Domain Name Service) Configuration 3 Tier - Rocky9 (0) | 2023.08.26 |


